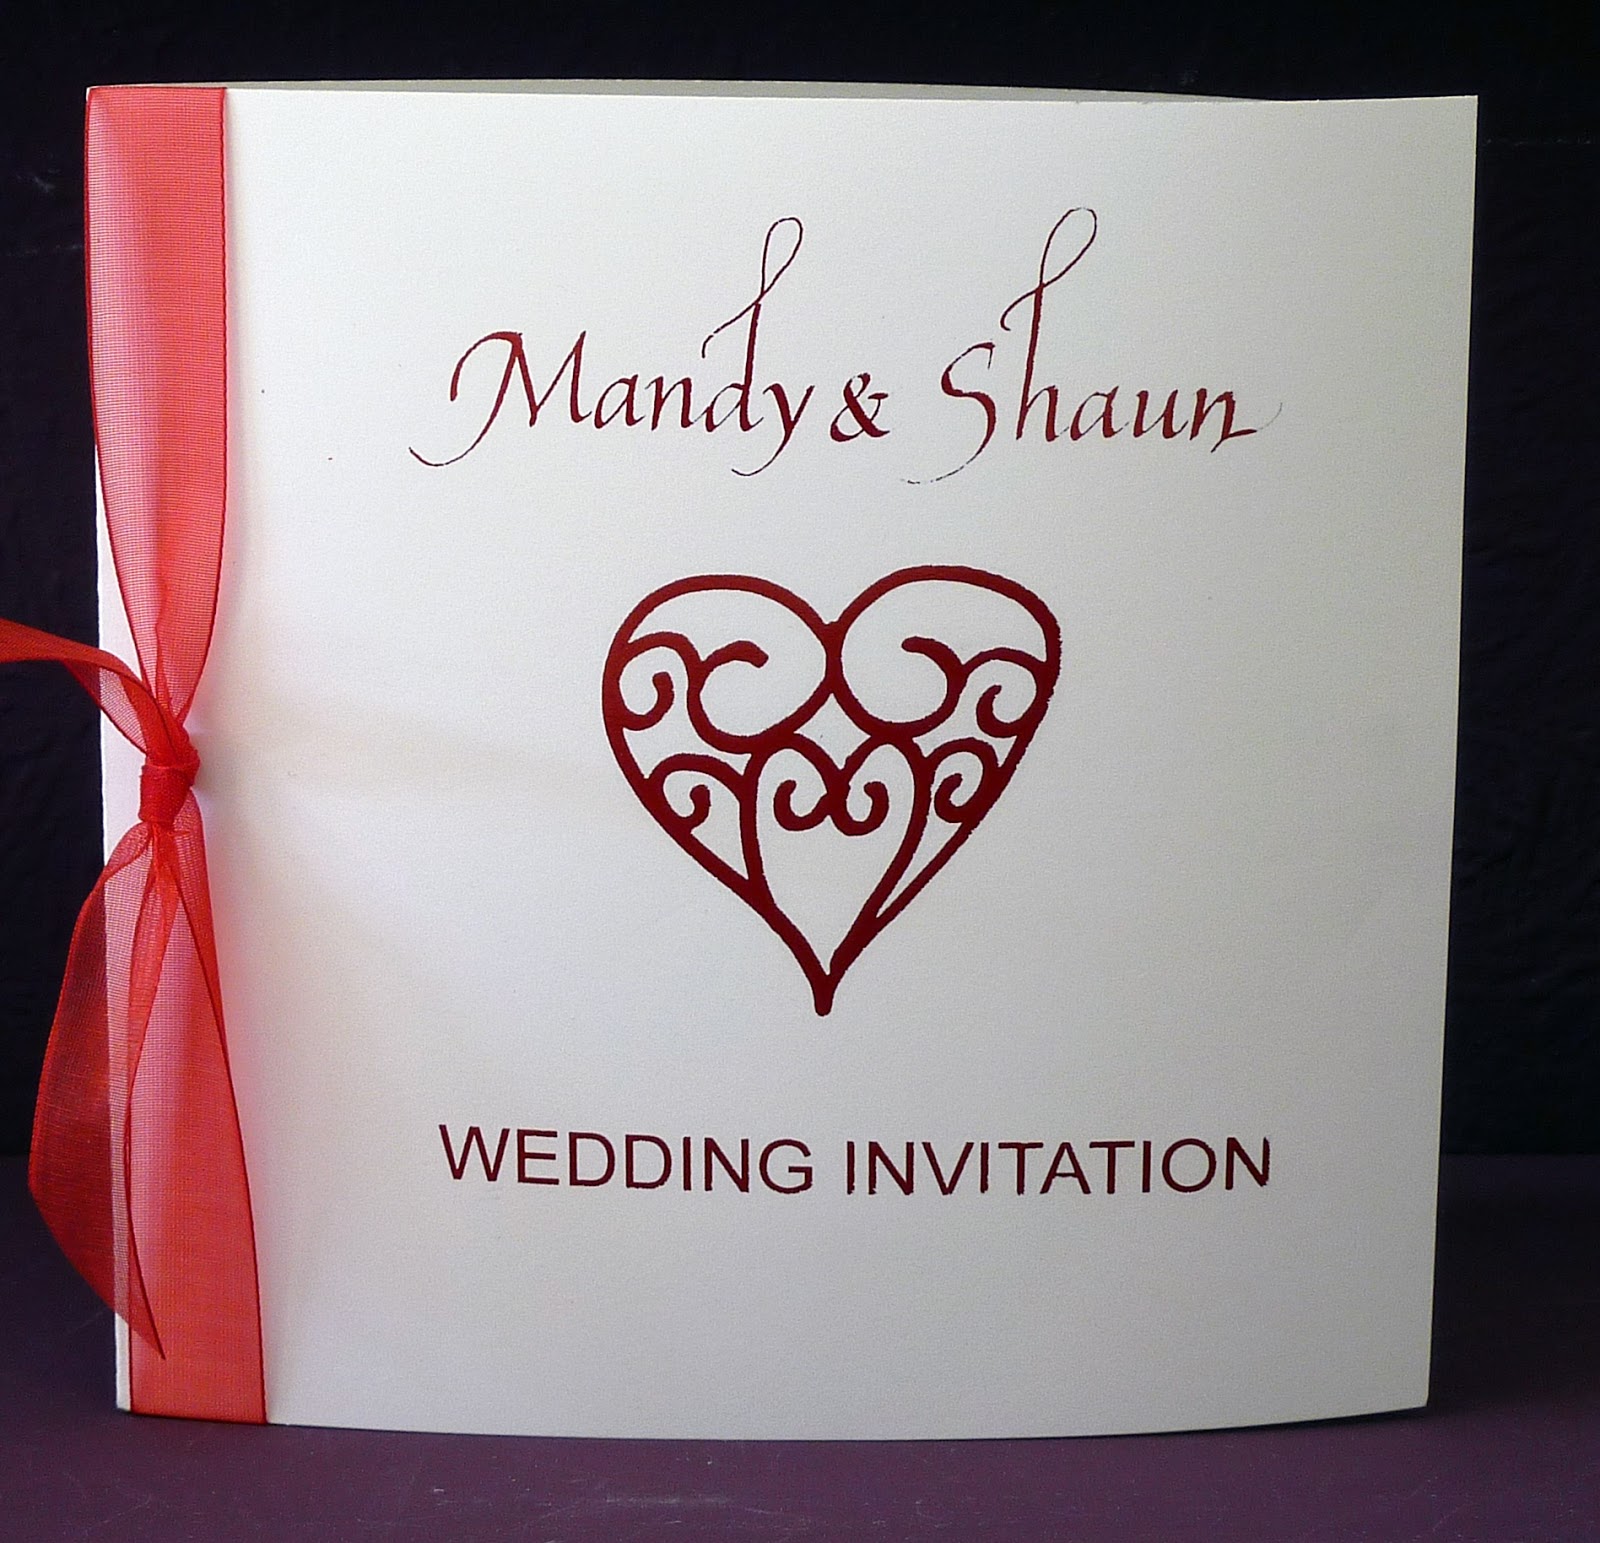
Monday, 9 September 2013

Red, Blue and Green Wedding Invitations - Cassie & John

Red, Blue and Green 
Wedding Invitations  
Cassie & John


The wedding colour theme for Cassie and John
came from Johns Scottish ancestry.

there theme was to be a tartan one,
however, we don't have a tartan foil...
so we had to think a bit creatively here.

We (between us)
decided that the Folded Daytime Invitations 
Would be Ivory and foiled in Red...


And the Flat Evening Invitations too.....


We made the RSVP cards in Blue foil
And the 'Money not Gift' Request Cards 
in a beautiful Emerald Green.....


Apologies for the rather pale next few pictures...
they were taken on my iPad and the photos look 
ok on that, but they do funny things on Blogger :-)

We made the seating plan in the same colours,
using red for the foil lettering and as the main colour.
The green border and blue butterflies, helped tie it all in.


Here's a very poor close up....


Then, the post box....
here I tried to tie it in as best I could 
with the seating plan....


And last of all....
These mini Lottery Ticket Envelopes
A small Blue and Green butterfly
to match the theme of butterflies
running right through this order....
An personalised with Red Gouache Calligraphy,
to make them even more special.


Some colour themes leave you 
with a bit of head scratching,
but with a bit of creative thinking....
things usually work out in the end.

What do you think?
Like? or not?

If you had a Scottish Themed Wedding,
how did you get everything to fit in?

Leave a comment
or email me at 

I'd love to hear your stories :-)
Blessings, Sue x


Friday, 6 September 2013

Heart Themed Wedding Invitation Inspirations

I've been asked by a Bride to send her a few photos 
of some heart designs I've created. 
So I thought I'd pop then into a quick blog post
to share with all my other interested couples.

Card 1 - The fingerprint card


Card 2 - Tumbling Hearts


Card 3 - Heart Balloons


Card 4 - Simple Filigree Heart


Card 5 - triple Heart 


Card 6 - Filigree Heart 


Card 7 - Heart Border


Card 8 - Tendril Hearts


Card 9 - Open and Closed Hearts


Card 10.... as above but this time foiled in pale pink.


These are just some of the cards available at the studio.
We work on new designs when requested or when time permits.

Although most of these cards are seen as folded,
all the above designs can be made into flat invitations with a bit of tweaking.
Obviously the designs may have to be smaller to accommodate 
all the information that can be put inside the folded cards,
but for the budget Bride these can be ideal,
offering something personalised, different, unique,
while staying within budget :-) 

To see more designs visit the website


Saturday, 24 August 2013

Personalised Packaging for hand made goods

Mega apologies for being SO behind with my blog posts!
July and August are the busiest times in the Wedding Industry,
I've had loads of Brides wanting on the day items.

The posts are all queued up and 
waiting for me to write the descriptions.....
but in the meantime, 
I'll share a few new packaging items 
I've made for myself.

I've been making some tags
with a variety of words on,
to suit an assortment of orders that I get in.

I put the pics out on facebook 
and took a vote as to which fastening people preferred.

The string won, hands down!

I also made some transparent wraps,
which turned out rather cool! 


Hand Made, designed, printed and foiled with love,
especially for you at the studio on Inspired by Script


Hand made and sprinkled with care and love
especially for you at the studio of


Hand made, designed with smiles  and love
especially for you
at the studio of Inspired by Script 


I LOVE making personalised tags and tickets, especially for the Hand Made market, it all adds to the 'I took care and a lot of thought went into this' kinda feel to hand made products, don't you think?

I'll be back soon with some Wedding related write ups.... and one or two non related Wedding orders.... one of which has proved very interesting and saw me hitting the international market.

In the meantime, enjoy what's left of the Summer while it lasts. The last 2 days have given us some much needed rain.... but after the amazing Summer we've had we really mustn't complain :-)


Wednesday, 14 August 2013

Penny & Andrew - Pale Pink Wedding Invitations and Stationery

Pale Pinks rather than Fuchsia 
were the order of the day....
and hearts....and plenty of them!


The order was for 
Daytime Invitations
Evening Invitations
and RSVP Cards


All with hearts 
and all in soft pinks...

Below:
Folded DL - 21cm x 10cm Daytime Invitations
14.5cm x 14.5cm Flat Invitations
10cm x 10cm Flat RSVP Cards


And closer to the day....
The Wedding Seating Plan


Decorated with oodles of hearts!


And some larger ones to give a bit of comtrast


And.... don't forget the table numbers....


The place cards were written in pale pink gouache paint, but look pretty odd on a photograph as Penny was adding a Heart Brooch as not only a place card but a Wedding Favour too. Money was donated to Cancer research on each guests behalf.

Subtle but pretty and a refreshing change from Hot Pink I have to say. Pale pink would be a good colour to use for the more Vintage Type, Traditional Wedding themes. 

Monday, 12 August 2013

Kirsty & Paul - Cadbury's Purple Wedding Invitations and Stationery

Kirsty and Paul
were married on Sunday.

The colour theme of their wedding was Purple


They choose, as many couples do,
Folded Invitations for the Daytime guests,
and Flat Invitations for the Evening Guests


The choose a fine Baroque/vintage style design


With fine filigree and solid leaf pattern


A theme that was to run throughout the whole of this order.


'On The Day' items are generally ordered much later 
and closer to the date of their wedding. 

Once you know how many people are coming
 and who you have to cater for.


There were 7 tables in all,
6 plus the top table.

Here are the table numbers,
flat so that they can stand in holders


And here's a close up


The Order of Service 
were made into book,
with 8 pages inside.

I made the covers more decorative 
as I could afford to fill up more space 
than I had been able to on the Invitations


And again.... here's a close up


Or two.......


The multiple pages means that the couples have the choice
of either hand stitched or stapled...
depending on their budget.


Kirsty and Paul chose to have a triple fold menu
to stand next to the centre table decorations


There was also a Wedding Post Box....
but for some unknown reason I forgot to photograph it!

And finally, with just 2 weeks to go
The Wedding Seating Plan...


Much less fussy than normal,
due to the fact that there were no hearts of butterflies to stick all over it :-)


Sadly, Wedding Stationers rarely get to see the finished effect. Unless they have friends who are the wedding planners or photographers and who can take pictures on the day. Overall the design and colour worked really well and most of the time the work was left up to me.

From start to finish, this couple were uncomplicated and made the whole order go smoothly and effortlessly. This was probably the most stress free order I have ever had the pleasure of doing.

It's great when a couple trust you as an artist and creator.... it makes our work so much easier :-)

I would like to wish them all the very best for their bright and happy future together and thank them for being so laid back and easy going. 

Thursday, 18 July 2013

How to make a simple Egg Box Book

How to make a simple Egg Box Book
These make great DIY Favours for weddings!

These cute and simple little books can be made using only 

A square Piece of Paper,
2 pieces of car
and some ribbon.

They are a great idea to make as 
Wedding Favours or a holiday project for the kids.

Here's how I made mine.....

First I cut a square of paper and 
decorate with a picture or greeting


With the lettering facing
fold in half to form a rectangle,
then open and fold the other way to form a rectangle again.
Your paper will have 4 squares on it.

Then turning the paper over 
fold the opposite  corners towards each other
forming a triangle.

Open out and push down in the centre.
The paper should then fold itself into a square
1/4 of the size of the original piece.


Cut 2 pieces of card 1cm larger than the paper
and cover in some decorative paper.
(Soft paper works best)

Add some ribbon before sticking the paper into the covers.


The outside can then be decorated as you wish.


As it was near fathers day....
here's one I made earlier :-)


Fun little books,
which can be made for 
a wide variety of occasions 
and always bring an element of surprise
when the recipient opens it.

If you make one of these books,
why not leave a comment and a link and share your creations. 

Related Posts Plugin for WordPress, Blogger...