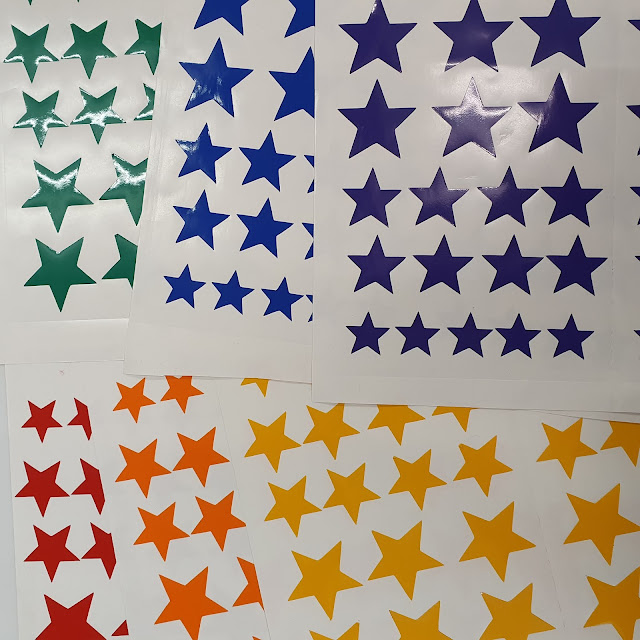
Our vinyl decals can be used on all manner of things. Here I'm going to talk about how to apply your decals to WINDOW CLING.
You can, of course, apply your decals directly to most clean, dry, flat)ish) surfaces, but this should be considered a permanent, non-reusable application.
Window cling is ideal if you'd like to reuse your design somewhere else or replace it on a regular basis.
Using window cling saves a lot of time and energy scraping off individual decals especially when the decals are small.
Our larger decals, however, come ready attached to a piece of application tape. This tape helps you pick up larger or more delicate pieces of vinyl and position them so you are less likely to crease it when you stick it down. Whether you are using WINDOW CLING or applying to straight onto a smooth surface, the application is the same.
FIRST OFF - Cut your window cling to the desired finished size.
Then gently peel the application tape away from its backing ensuring the whole of the decal comes away. If at any time you see it's not stuck, simply place back down and rub hard with a store or debit card or some other hard, flat, piece of plastic.
Once you have peeled it away, lay it gently down onto the WINDOW CLING or position it wherever you want it to be.
Once again take your plastic store card and rub very hard on the back. Check it is stuck by lifting up the application tape and peeling it away SLOWLY from the backing. If it's not stuck down you haven't rubbed hard enough.
The best way to remove the tape is to pop it back on itself so that the non-sticky side touches the non-sticky side and pull at an angle from the top left or top right corner.... sort of in a diagonal movement.
If any areas are not stuck properly, hold the application tape 90 degrees and rub the decal until successfully removed.
Give it another gentle rub over once the application tape is removed to ensure it's all stuck down nicely.
REGARDING RAINBOWS
Rainbows come in all shapes and sizes, right? so where and how you place them is entirely up to you.
I usually set out the 6 colours. RED, ORANGE, YELLOW, GREEN, BLUE, PURPLE and taking one of each space them out on my mainline. This gives me a great guideline to work from.
I then fill in with the smaller colours until I am happy with the design. Get creative and have fun! Remember there is no right and wrong way... everyone's design is different!
TIME TO PREP THE WINDOW!
No matter how clean you think your window is... give it a quick clean anyway.
Then take a wet dishcloth and drop on a few drops of washing up liquid (Shhhhh trade secret!).
I know this sounds crazy but it helps you to move the decal into position and helps with the surface tension.
Leave your window wet like this....
O.K. grab that plastic store card and a clean, dry, cloth and place them where you can get access to them.
Peel the window cling away from it's backing and stick to the window.
For large decals another pair of hands is useful.
Lift and place dow repeatedly until you have as few bubbles as possible.
Take the plastic scraper and lifting away the window cling, place down and scrape to the outside from the middle.... repeat as often as you need to.
Don't panic about smallish bubbles this is perfectly normal.
Just get rid of as many of the larger ones as you can.
This was the best I could do.....
But once dry the bubbles will disappear.
And won't be noticeable at all.
There you go! Stand back and admire your window creation.... spreading a little joy out into the world.
Keep the backing paper to the window cling. It will come in useful if you ever need to store it and preferably keep it rolled in a cardboard tube.
You can buy WINDOW CLING HERE
See a selection of available WINDOW & WALL DECALS HERE
We also offer vinyl stickers to use for your own personal projects. These can be used to personalise just about anything TAKE A LOOK
If you have an idea and want us to cut it for you CONTACT US for a quotation


No comments:
Post a Comment
Hey! Thanks for visiting Inspired by Script. We love hearing what you think and from other creatives too. Thanks for taking the time and trouble to leave a comment :o)